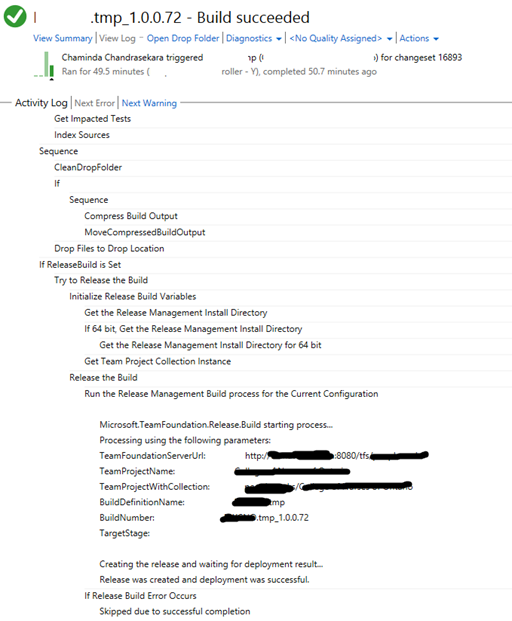
This is a step by step guide to upgrade VS Release management Server from 2013.2 to the latest update 2013.4.
1. Backup
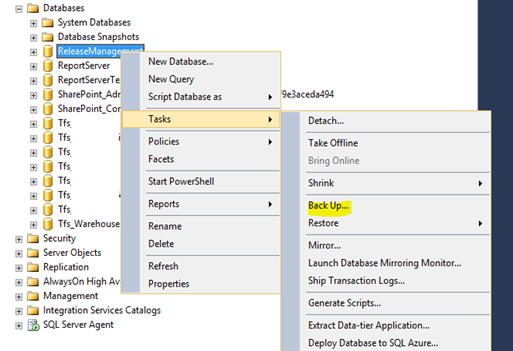
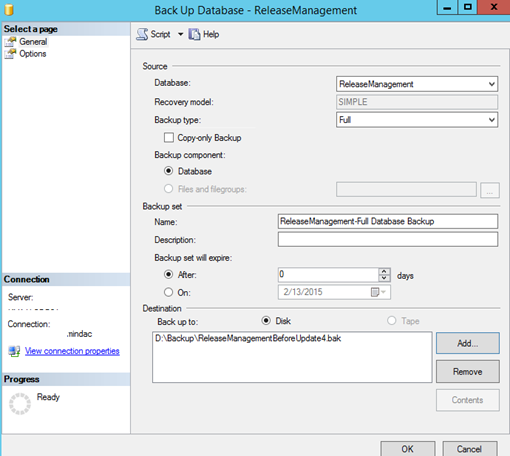
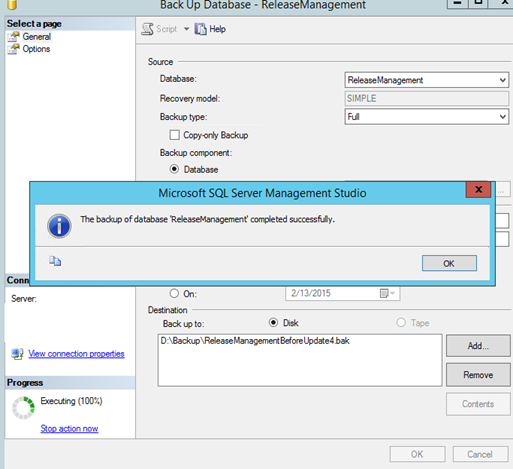
Take a backup of release management database is a must before running the upgrade. It will be the only option to recover from a failure in upgrade process.
 2. Backup config files of RM Service and RM Web.
It is important to take backup of cofig files of the RM Service and Web since there could be some special config changes made to these files while setting up RM Server initially.
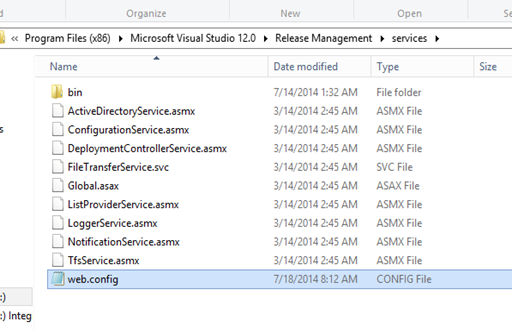
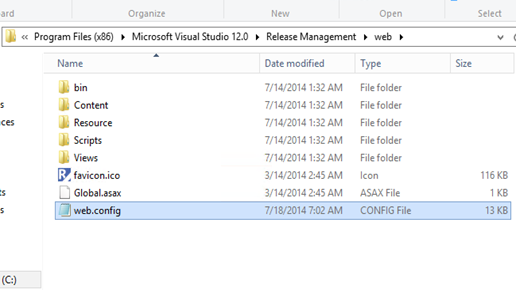
Backups of config files.
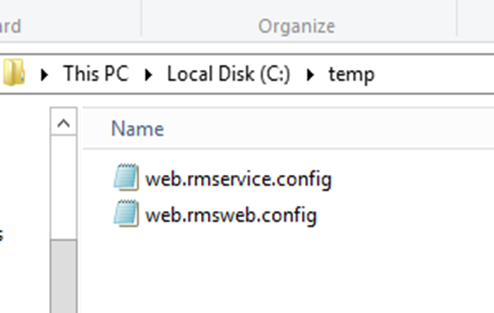
As long as backup of Release Management database and config files available recovering from a failure upgrade would not be an issue.
3. Uninstall VS RM 2013.2 (Old version)
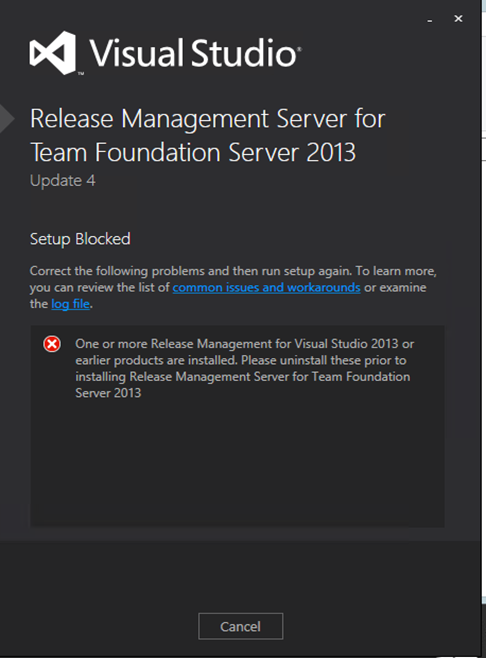
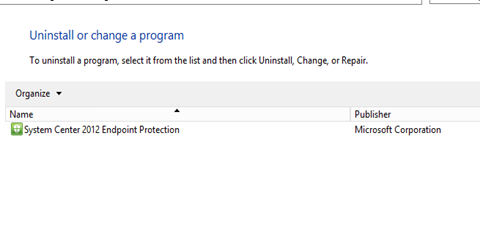
It would not be possible to install VS RM 2013.4 without uninstalling the previous version. Below error would be given in such attempt.
Uninstalling will not remove any of the previous release information or release templates, paths, environment configurations etc. since all those details are available in release management database and the uninstall will not change/delete the release management database.
Uninstall release management client (If installed) in release management server machine.
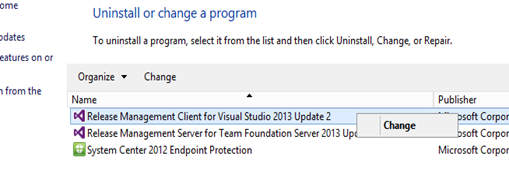
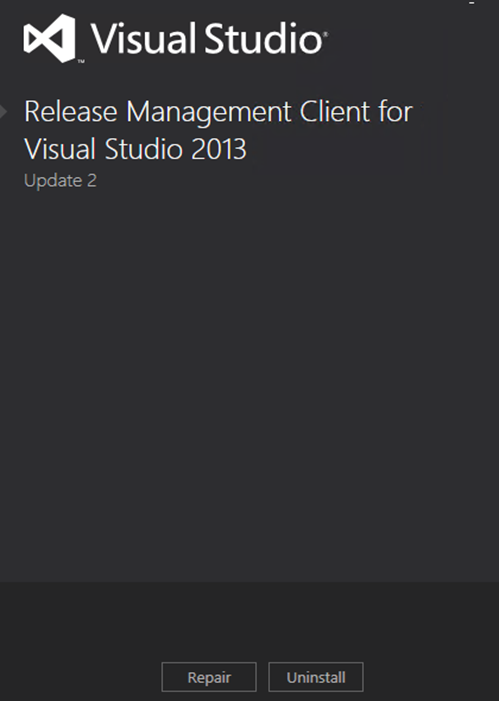
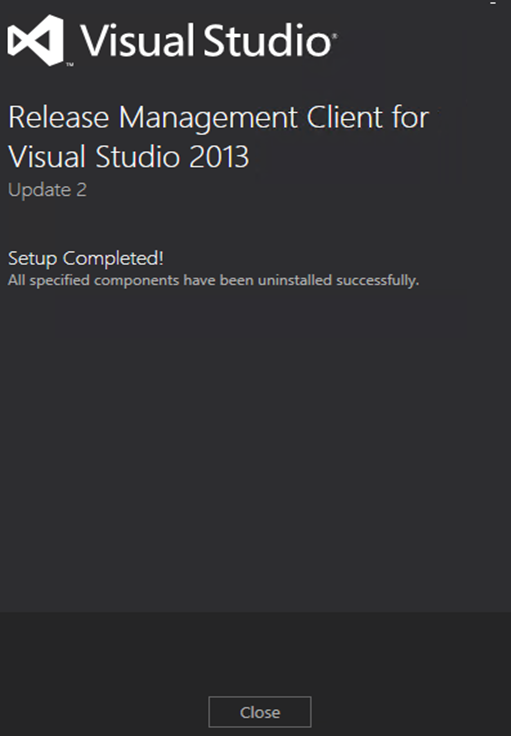
Uninstall release management server.
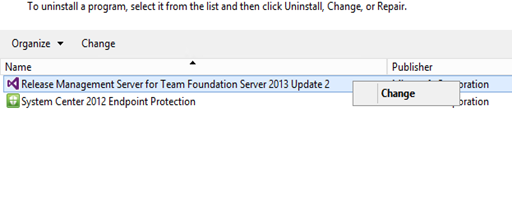
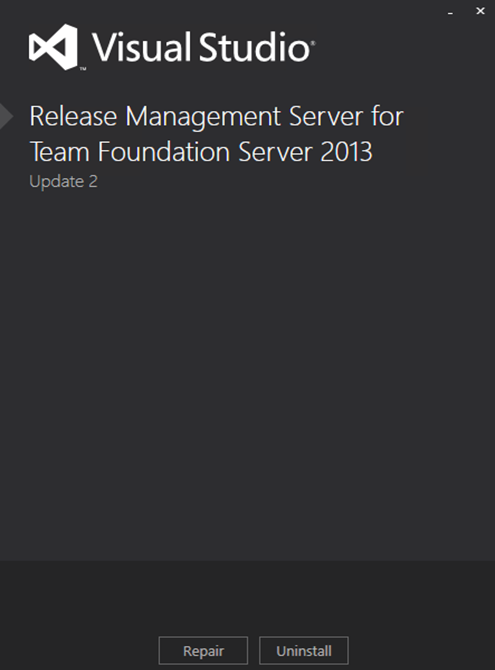
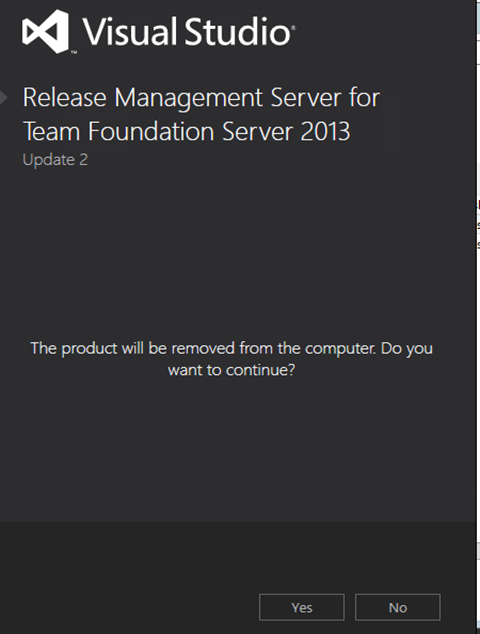
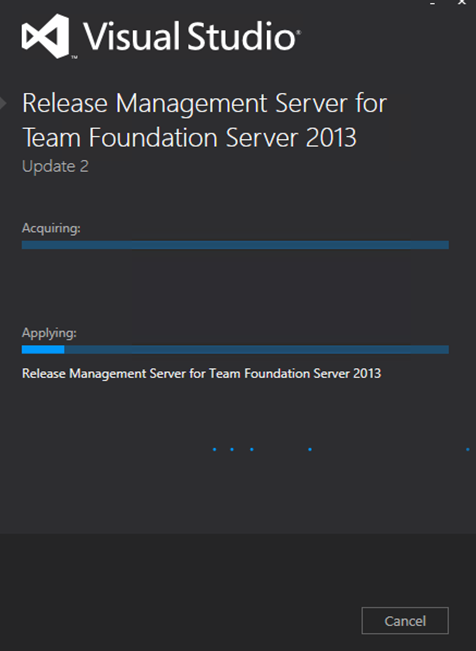
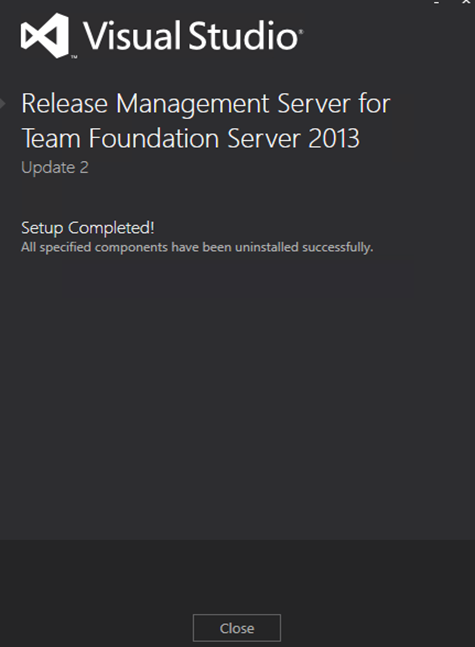
Make sure release management server and client uninstalled in release management server machine.
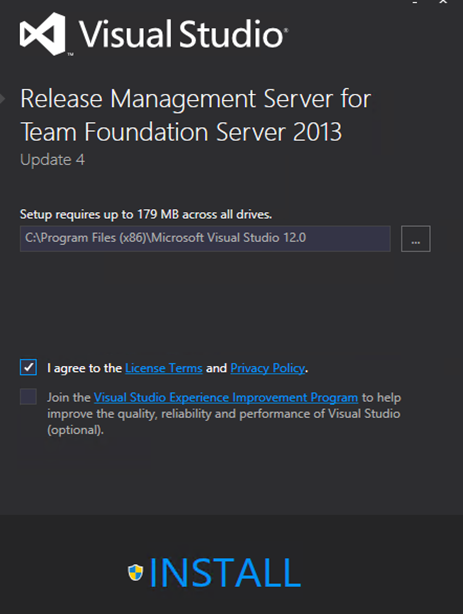
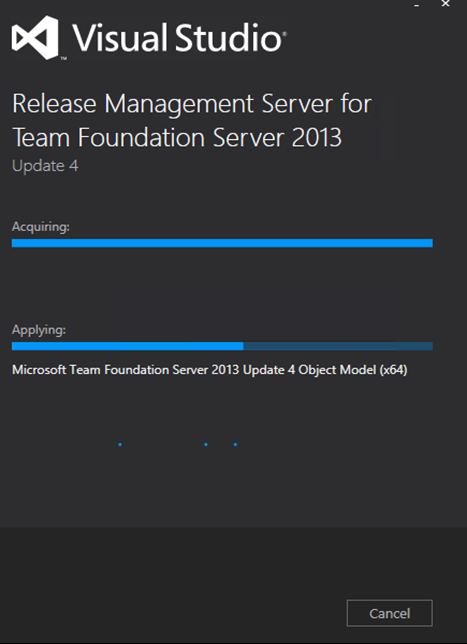
 4. Install Release Management Server 2013.4
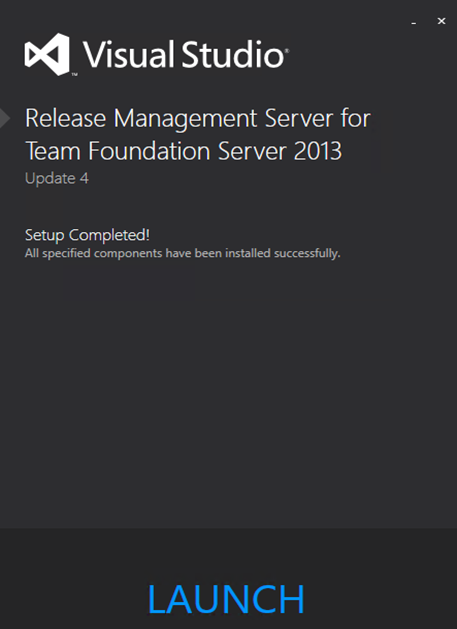
Click launch in above screen loads the configuration window.
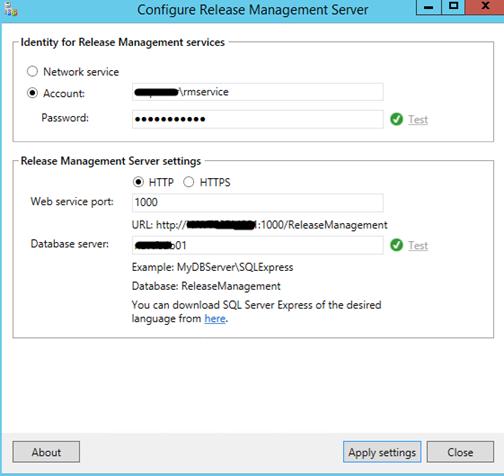
5. Configure release management server.
Test the rmservice account and release management url and click Apply Settings. Provide SQL server name of the server containing the existing(current) release management database
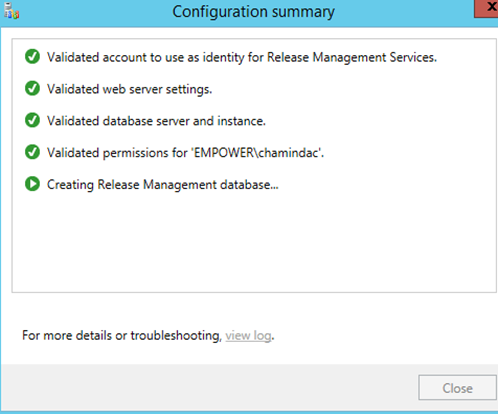
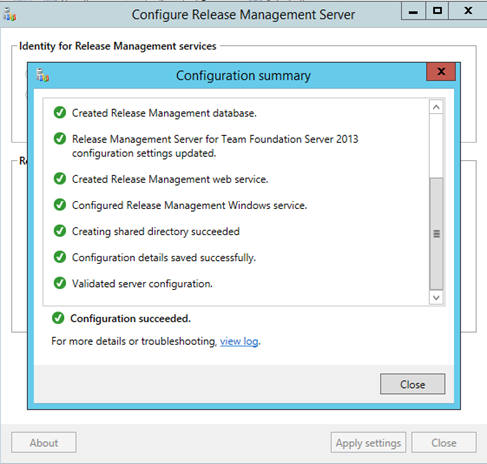
Create database will not create a new database. it will update the existing release management database.
 6. Install release management client.
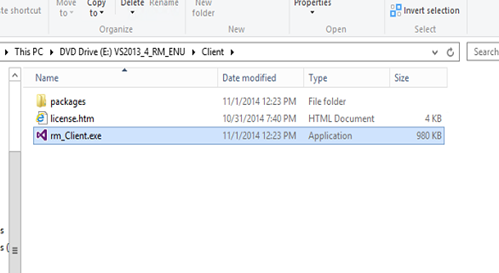
Install release management client in the release management server machine to mange it.
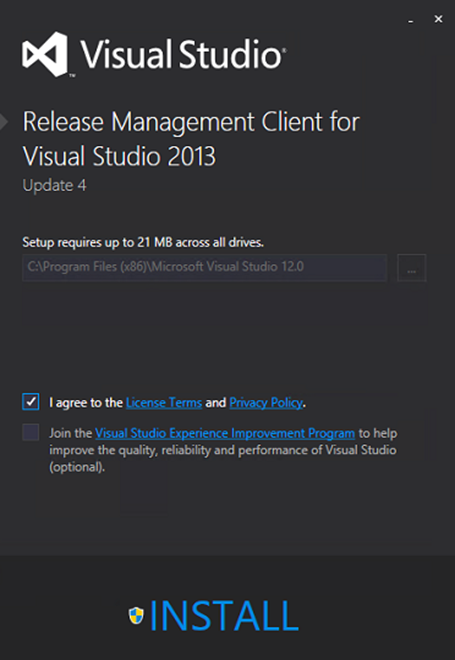
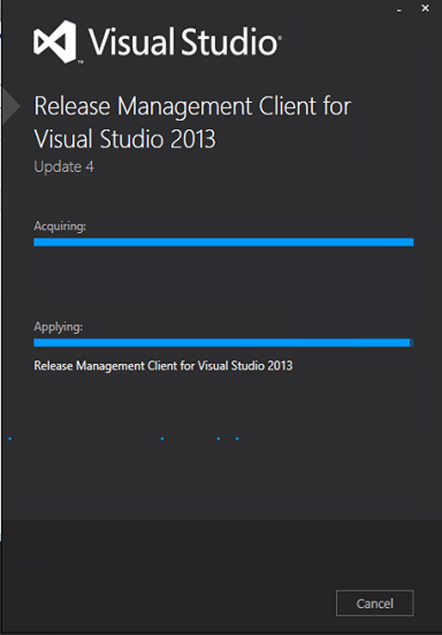
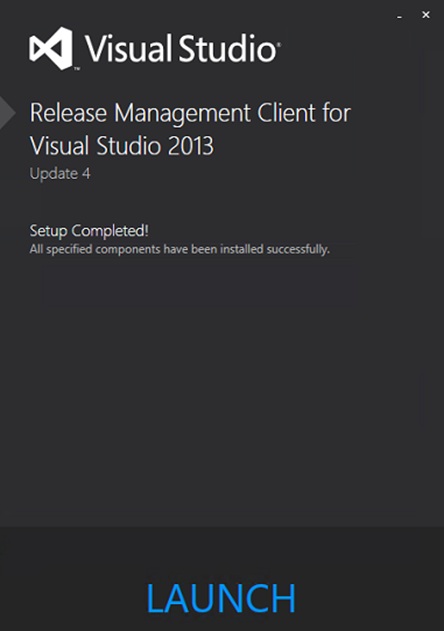 7. Connect client to release management server.
Connect release management server to client and verify previous data availability.
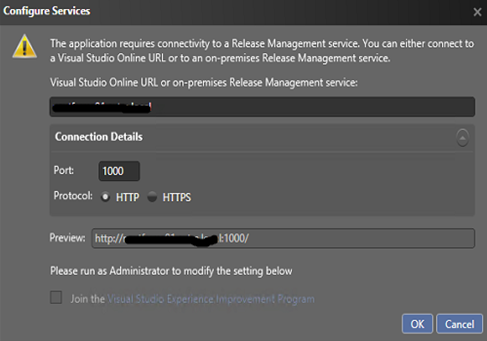
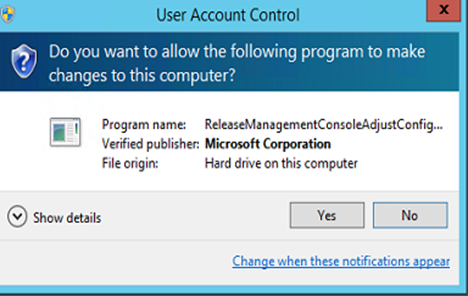
Click Yes
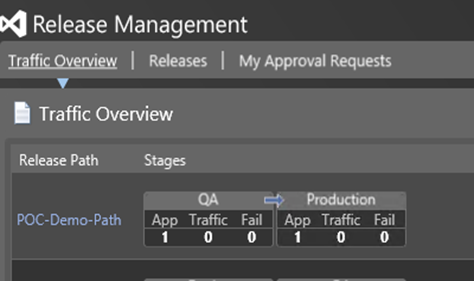
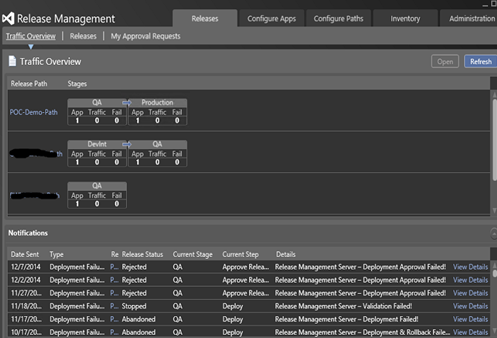
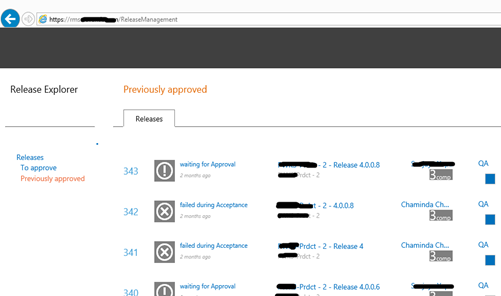
Previous release details available.
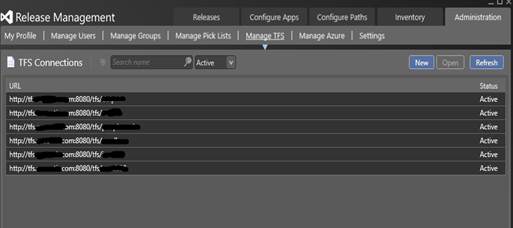
TFS connection to release management active.
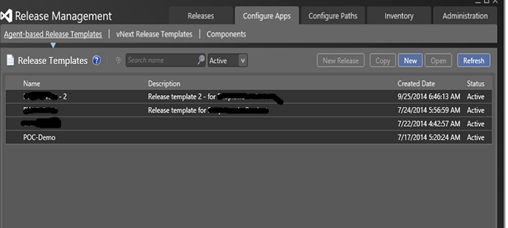
Release templates are available.
Release management website working.
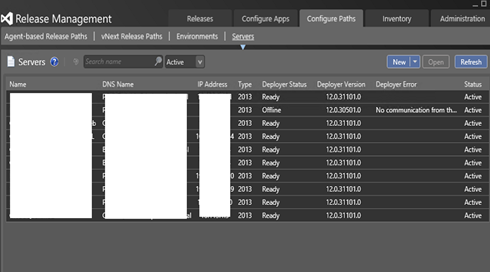
Previously configured deployment agents are available and ready. Deployment agents can be upgraded later and they will work without upgrade to them as well.
Release paths are unchanged.

The above confirms upgrade looks successful. It is possible to do further verifications using RM Client and doing a trial release or two in a demo environment.
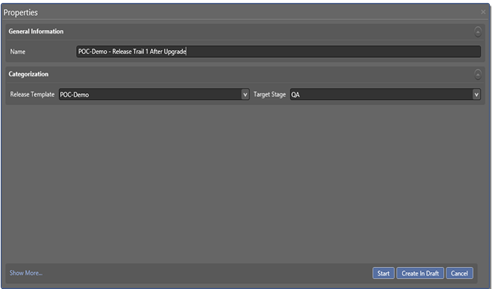
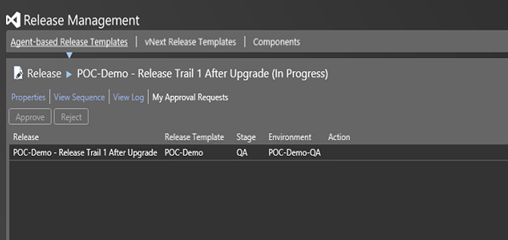 7. Release management service and web, config file changes, update.
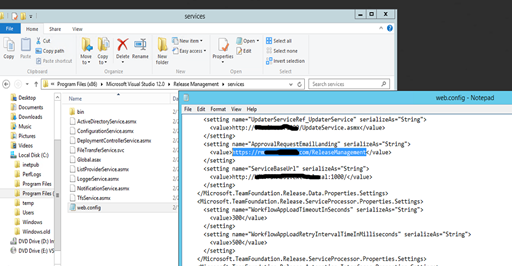
There could be changes made to config files, such as ApprovalRequestEmailLanding, which enables to connect to online available release management web site via a mobile phone etc, to do release pipeline approvals. These changes need to be reapplied in release management web and service config files. The backups of config files made in step 2 (
2. Backup config files of RM Service and RM Web.) come in handy for this effort. It is not advisable to replace the new configs entirely with backup config files. Only required changes should be updated carefully to new config files referring the backup config files.
For example without the changes applied the email approval request link will not work without network or vpn connection to domain network which release management server belongs to.
View request here linked to local network url.
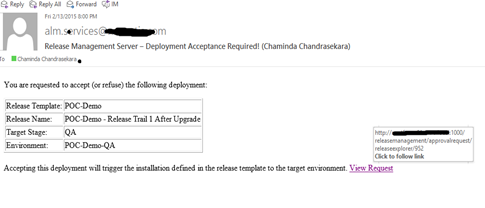
This can be updated in ApprovalRequestEmailLanding configuration in config files of web and service of the release management.
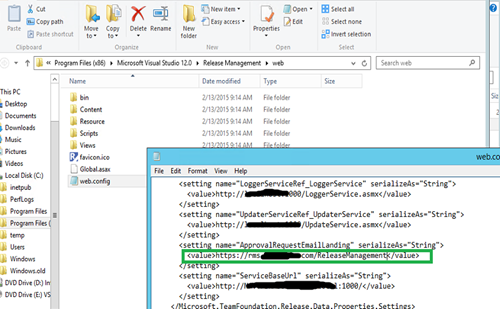
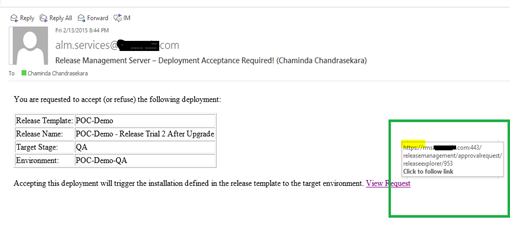
Once this is updated the online release management web site link in View Request for approval request emails is set by RM server.
 8. Release management client previous versions with release management server 2013.4. in another machine.
If release management server is updated to 2013.4, all release management clients connecting to it should be updated to 2013.4. Release management client 2013.2 cannot connect to release management server 2013.4.

Once upgrade to release management client by uninstalling 2013.2 and installing 2013.4 allows connection to release management server 2013.4.
After upgrading client to 2013.4 there could be an incorrect configuration shown mixing up https and http when connecting initially.
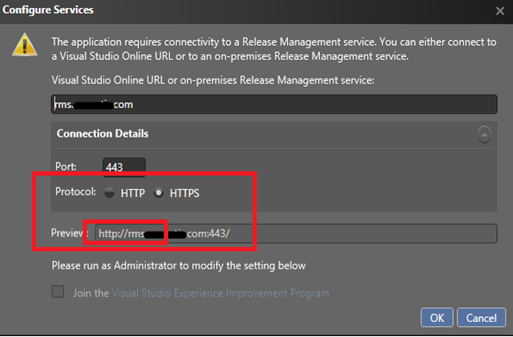
This can be fixed by selecting HTTP option and then selecting HTTPS option again.
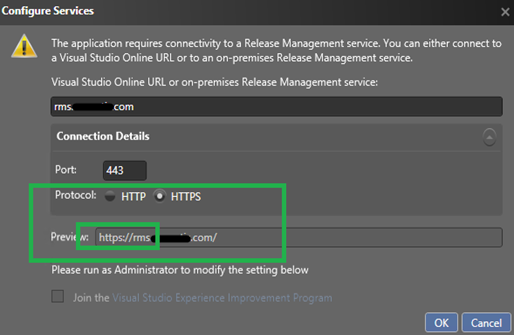
The client in outside release management server machine succeeds connecting to release management server.
