Tuesday 31 March 2015

TFS on Azure – 04. Setup AD on Azure VM

To create a TFS environment in Azure, AAD can be used with Corporate AD as explained here. The other option is setting up the AD as a Azure VM or use AAD. For the TFS demonstration & training environment purpose, setting up AD as Azure VM is described in this post.

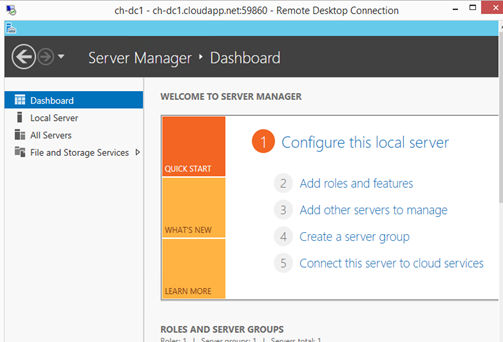
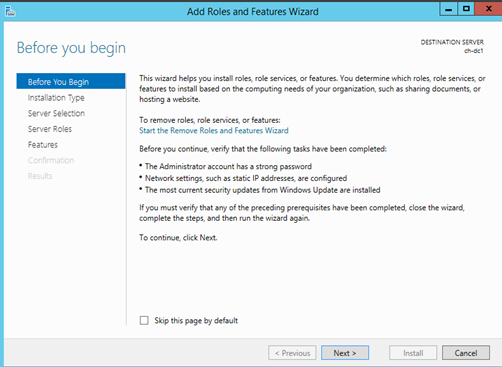
In Server manger in the Azure VM created click on Add roles and features.

01

02

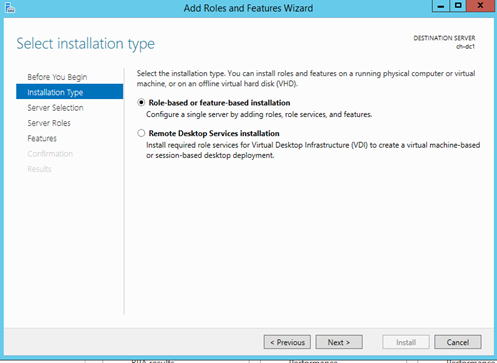
Select Role –based or feature-based installation.
03

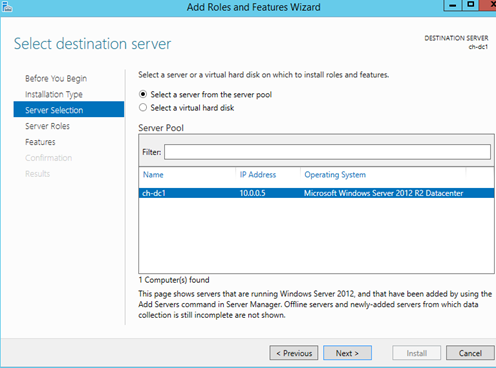
Select the server. Note the static IP set in “Adding Static Internal IP to Azure VM”.
04

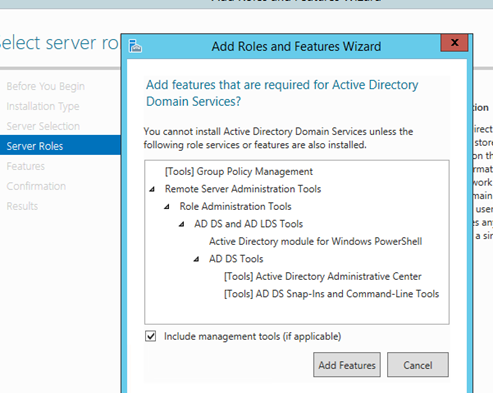
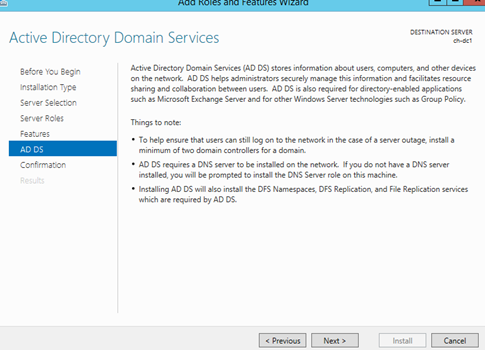
Select Active Directory Domain Services.
05

06

07

08

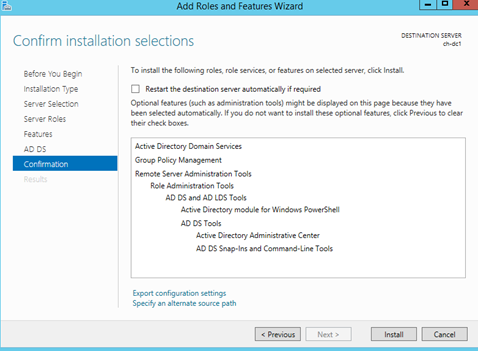
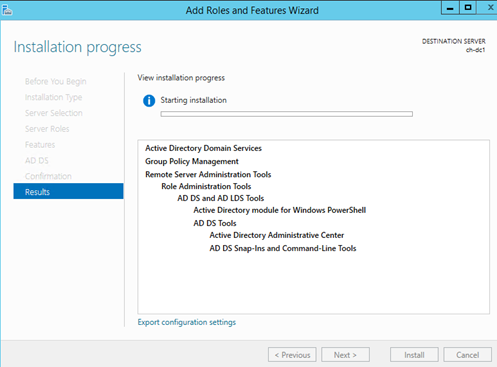
Click Install.
09

10

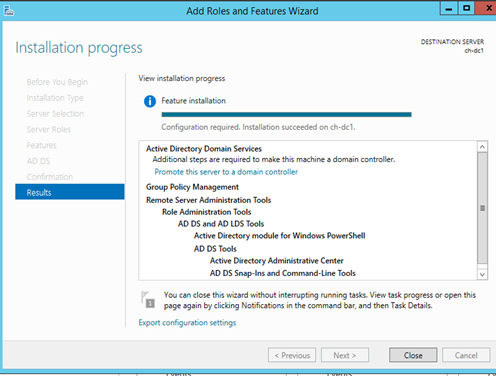
Click on Promote this server to a domain controller.
11

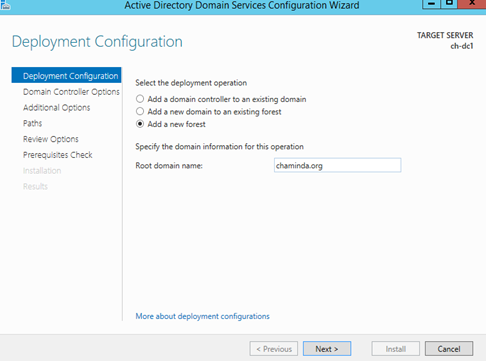
In Deployment Configuration select Add a new forest and provide a root domain name.
12

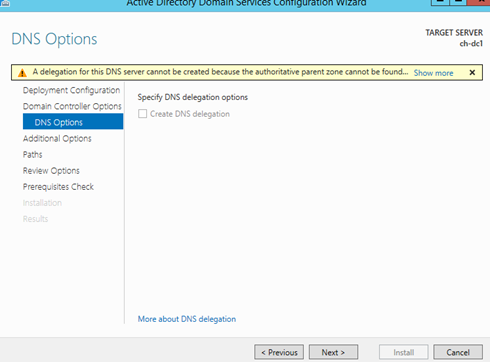
Skip DNS options by clicking next. This can be set up later.
13
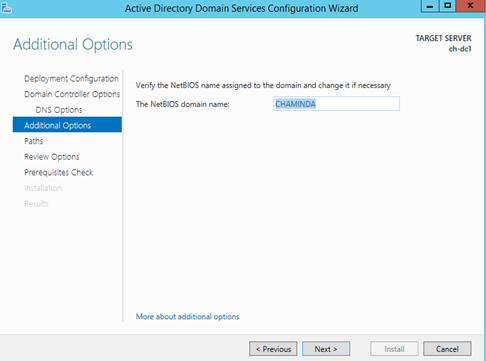
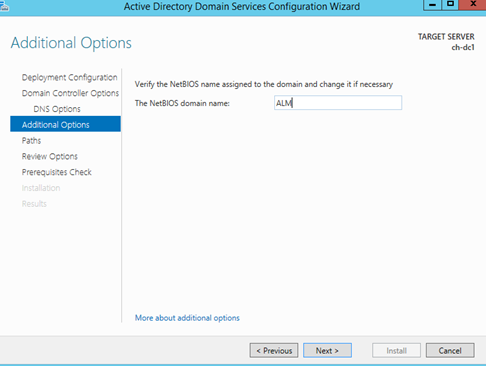
Provide a NetBIOS name.
14

15

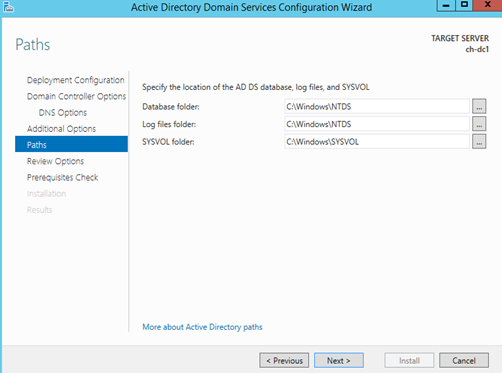
Specify paths.
16

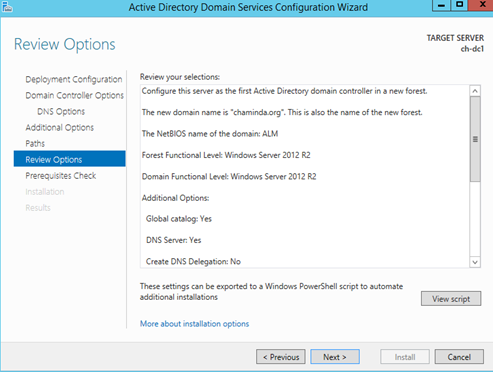
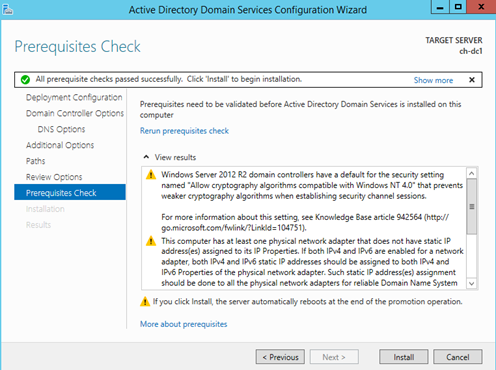
Review and Install. Ignore DNS warnings as it can be setup later.
17

18

19

Once setup completed and restarted can be logged in to the server using Administrator password provided for the machine, which will be valid for the domain administrator.
20

21

Sunday 29 March 2015

TFS on Azure – 03. Assign Internal Static IP for Azure VM

It is required to setup a internal static IP for Azure VM before promoting it as a Domain Controller or before setting up TFS/RM server etc. on Azure VM. This is required since Azure VM when shut down de-allocates its assigned IP and next time will be assigned with a different internal IP.
To set up internal static IP it is required to install Azure PowerShell in the local machine. Downloads available here.

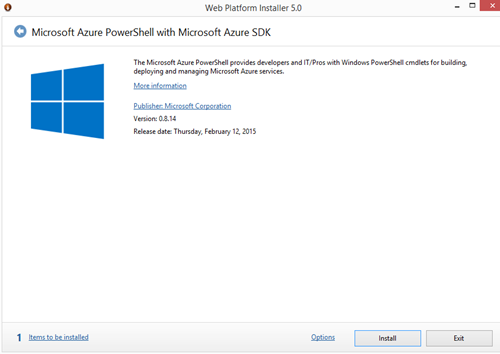
Install Azure PowerShell.
19

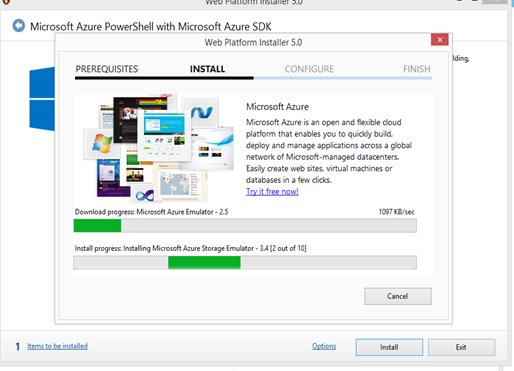
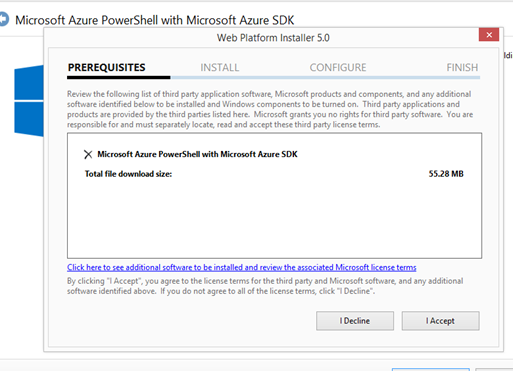
Web Platform Installer will download and install Microsoft Azure PowerShell with Azure SDK.
20
 21
22


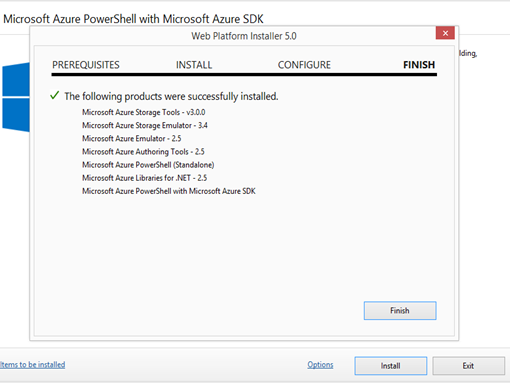
Installation of Azure PowerShell completed.
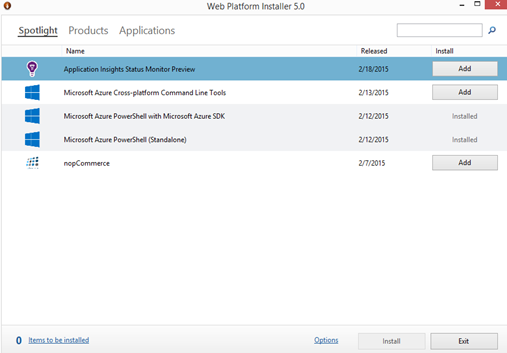
23

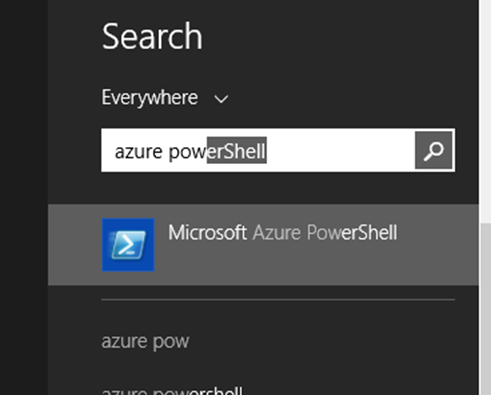
Launch Azure PoweShell.
24

Test IP address availability in Azure Virtual Network with following command.
Test-AzureStaticVNetIP –VNetName VirtualNetworkName –IPAddress IP
Example
Test-AzureStaticVNetIP –VNetName chaminda.vn –IPAddress 10.0.0.4
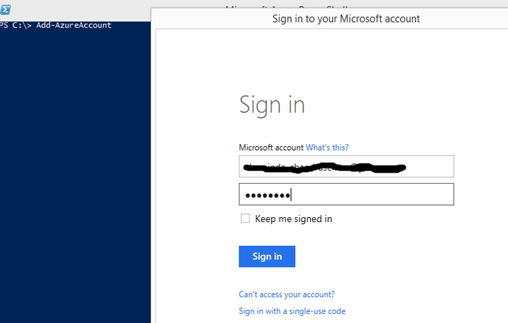
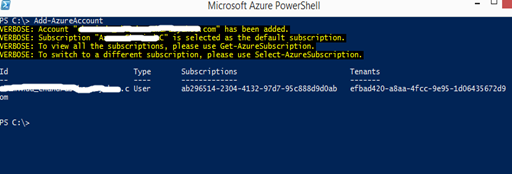
This throw an exception if the Azure Subscription Account is not added in Azure PowerShell. To add Azure Account execute “Add-AzureAccount” command.
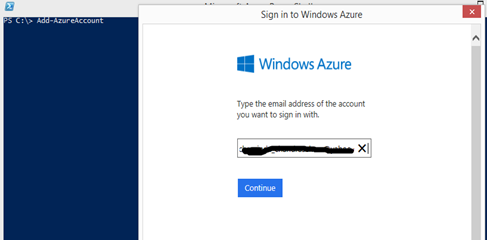
27

Sign in.
28

Subscription account will be added.
29

If required to change azure subscription name before adding the account follow the instructions available here.
Execution of Test-AzureStaticVNetIP succeeds after adding the account. It shows specified IP is available or not and available few IPs to use.
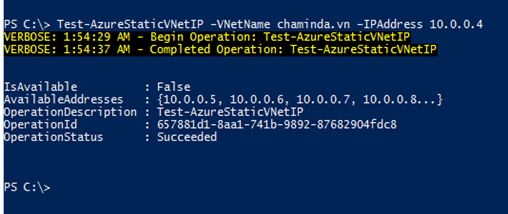
30

To set an static internal IP for Azure VM execute below command.
Get-AzureVM -ServiceName CloudServiceName -Name VMName | Set-AzureStaticVNetIP -IPAddress IPAddress | Update-AzureVM
Example
Get-AzureVM -ServiceName ch-dc1 -Name ch-dc1 | Set-AzureStaticVNetIP -IPAddress 10.0.0.5 | Update-AzureVM
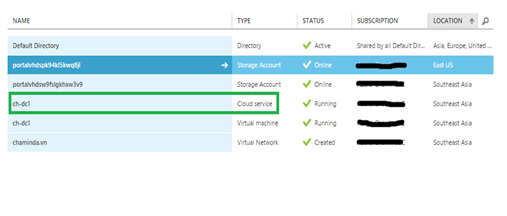
26
31

This will set specified internal IP to the VM.
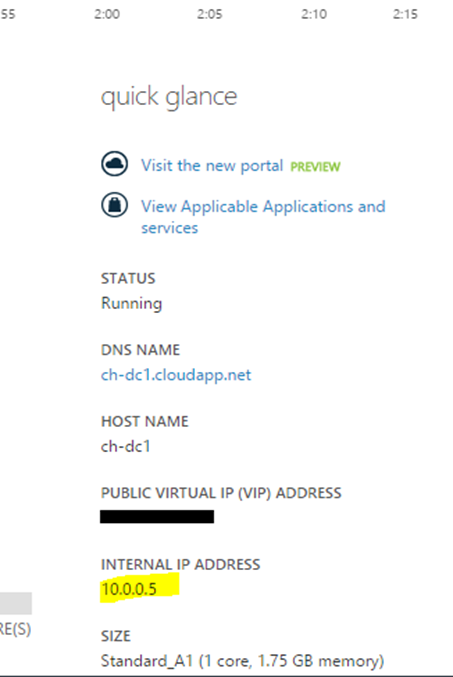
33

Monday 23 March 2015

VSO - Bugs on Backlog or on Task Board – Configuration Made Easy

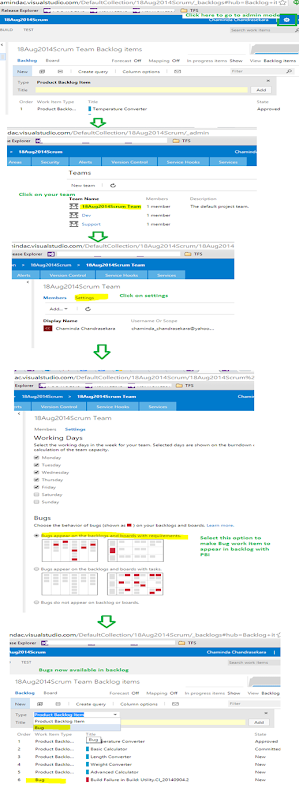
Visual Studio Online is updated to include another awesome feature by just a matter of selecting an option for its users, that’s us. Bug work item now on Visual Studio Online can be used as the same level of PBI/User Story or Requirement work item (as a backlog item) or in the same level as Task Work Item by selecting an option in team settings. This means we can set it to each team differently as we want inside a team projects. Simply amazing stuff from MSFT. Hopefully these will include in TFS 2015.

Let me show you how to use this setting.

Bug on Backlog – same level of PBI/User Story or Requirement.

a1

Bugs on Task Board - same level of Task
a2

Saturday 7 March 2015

TFS on Azure – 02. Create an Azure VM for AD

To setup TFS in Azure, AD can be setup as Azure VM. It is possible to use corporate AD with Azure, and use it to setup TFS in Azure VM. To setup AD in Azure VM it is required to setup a virtual network in Azure.
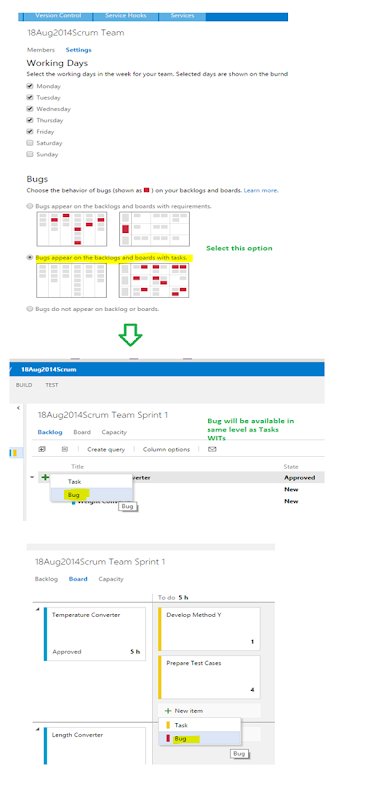
The steps to setup a VM to create an AD as an Azure VM are described below.
Setting up VM
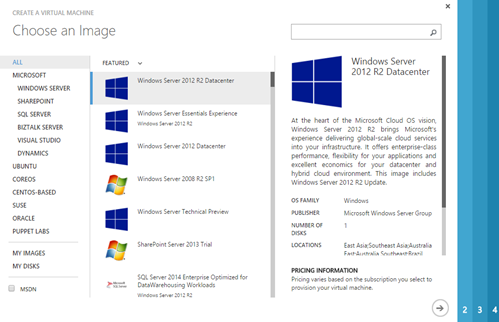
Select a Windows Server 2012 R2 Datacenter image for a VM.
01
02 
03

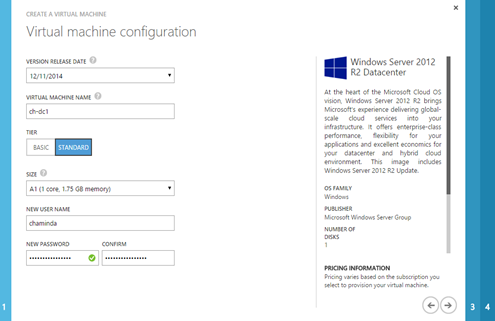
Specify name for VM and User Name and Password. Standard A1 machine would be sufficient.
04
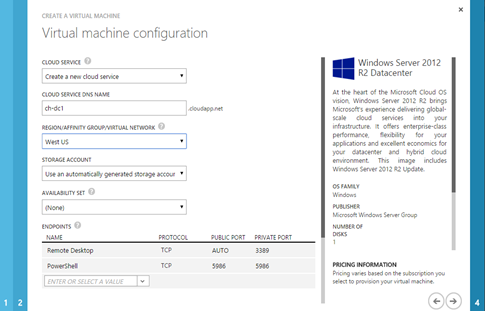
Provide a cloud service dns name.
05
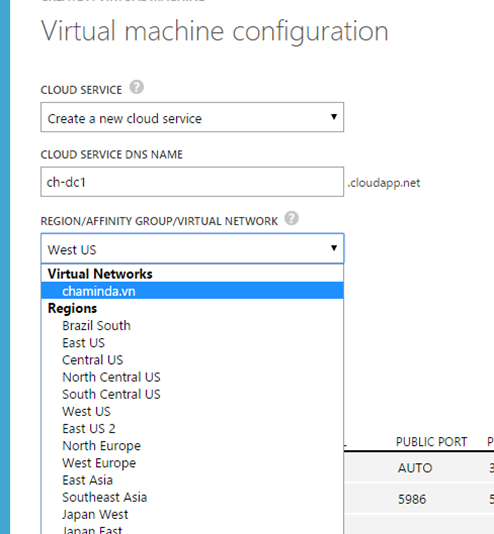
Select the Virtual Network created previously.
06
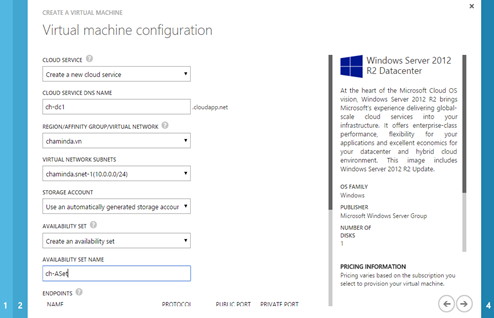
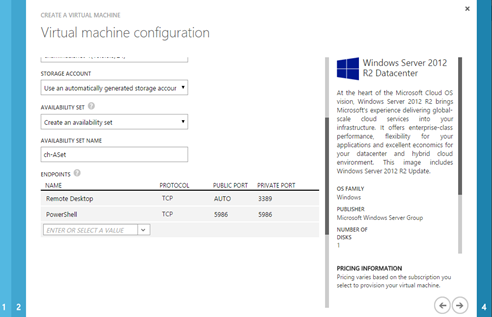
Provide availability set name.
07
08

Select to Install VM Agent.
09
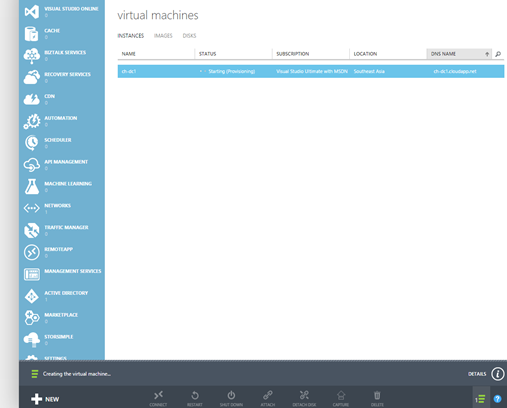
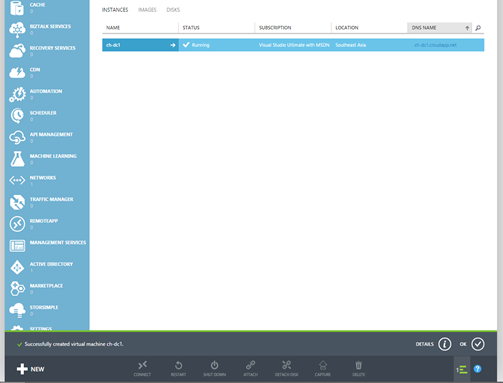
VM is created.
10
11

Availability Set
Following links provide detailed information on Azure Availability Set.
http://azure.microsoft.com/en-us/documentation/articles/virtual-machines-manage-availability/
http://azure.microsoft.com/en-us/documentation/articles/virtual-machines-how-to-configure-availability/
Since this is a demo environment there is no need to setup high availability. Remove the availability set from VM configuration can be done like shown below.
Select Remove from availability set and save. VM will be restarted.
16
17

Log in to VM
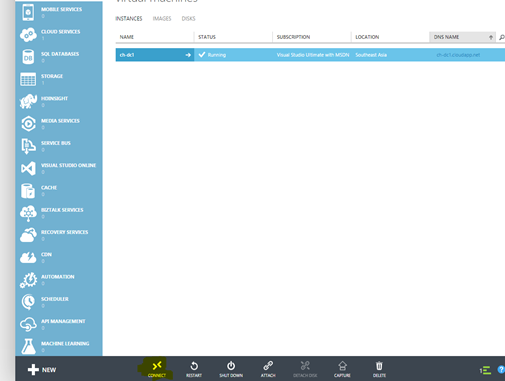
Click on Connect to download the rdp file to access VM.
12
13

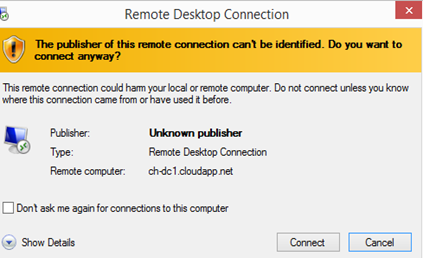
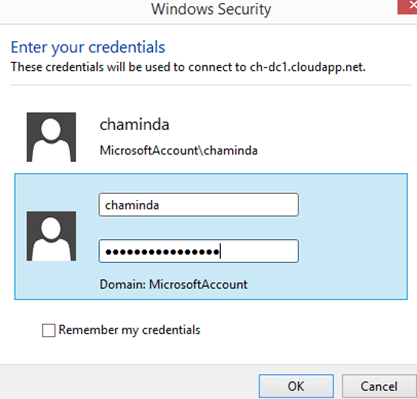
Open rdp file and provide user name and password specified to create the VM to login.
14
15

Popular Posts