- Arrange - Prepare the parameters and expected result for you test.
- Act - Invoke the method to test with the parameters and obtain the actual result.
- Assert - Evaluate expected and actual result to determine the success of the test.
 For the simplicity we will write very small method to add two numbers and a unit test to test that method.
Start VS2010 , create a new solution and add a c# class library project named CodeLib. Add a new class MathFunc.cs to the library and include the following code to get the smaller integer out of given two integers.
Now, add a new c# TestProject to your solution TestCodeLib reference the CodeLib Project, and add new class TestMathFunc.cs. To the TestmathFunc class definition add[TestClass]attribute. This attribute defines that TestMathFunc contains test methods which can be denoted by [TestMethod] attribute and it make these test method available in Test windows such as TestView. Writing test method TestGetSmallerNumber to test our GetSmallerNumber method is our next task.

Assert class provide quite few useful methods to validate your actual result with the expected result. In this Assert.AreEqual method an AssertFailedException will be thrown if expected and actual does not match. You can specifically throw an AssertFailedException in your test method by calling Assert.Fail method. There is no Assert.Succeeded available since if there is no exception that obviously means the test is successful. You have a Assert.Inconclusive to denote
Now build the solution. You can view the test with the TestView window.

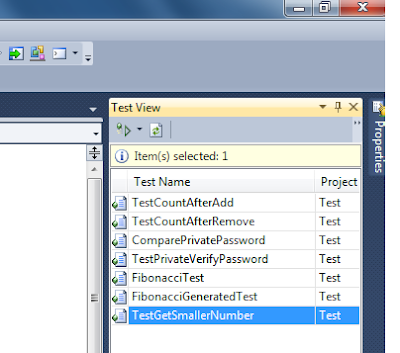
Now right click on the test in the TestView window and click Run Selected. You will see the unit test runing and the Test Result windows pops up with the passed status.
To check whether test method correctly working if the method is returning the wrong value edit GetSmallerNumber to have the following code.

If you run the test now result will be failed.

Following error message is giving the reason for failure. We are getting greater number from the method instead of the smaller number.
Expected:<10>. Actual:<20>. Actual value 20 and expected value 10Double clicking on the failed test result will open up the detail view of the test results.
Generating Unit Test
You can use Visual Studio 2010 to generate unit test for your method. Open the MathFunc.cs and right click on the GetSmallerNumber method. In the popup menu click on Create Unit Tests.
Below popup window that appears. Make sure your test project is selected as the output project and your method is correctly selected. Now Click on the Settings Button.

In the settings window you can specify preferred suffix for the test class file, test class and test method.

Mark all test result Inconclusive will notify this generated test is not yet inspected and Verified by the developer. Click OK to close the settings window and click OK in the Create Unit Test window to generate the unit test.

You can see the generated test specifies that you have to set values for expected result and input parameters. If you run this test now you will get inconclusive status withe message Verify the correctness of this test method. You can set the values to input parameters and expected result and remove the Assert.Inconclusive("Verify the correctness of this test method.") to make the test to fully work similar to the test that we have manually written.


No comments:
Post a Comment