Monday, 11 January 2016

Part 2 Deploy ASP.Net 4 Web Site - Deploying to Azure Web Site with Visual Studio Team Services Release

We have successfully built and produce downloadble build output in the Part 1 Build ASP.Net 4 Web Site. Let’s look at how we can setup a Release Pipeline with Visual Studio Team Services Release Management, to deploy this web site as an Azure Web Application.
Click green + to create a new release definition.image
Select Azure WebSite deployment and click Ok in the dialog box.image
This will create an environment with Azure Web App Deployment task. Rename the environment added to let’s say DevInt. image
In the Artifacts tab of the release definition, click on Link an artifact source.image
Select the build we have created in Part1.image
image
In Azure Web App Deployment task set the parameters as shown below.image
To link Azure Subscription to your VS Team Services Team Project follow the instructions here. Web App Name is the Azure Web App Name. Use the App Service Location as the Web App Location.image
image
Select Deploy Package from linked artifact. How to publish build artifact is explained in Part1.image
Trigger can be set to Continuous Deployment so that new artifact availability will trigger a deployment. image
Approvers can be assigned but let’s keep it automated. image
image
Let’s trigger a new build using build definition we have created in Part1.image
image
Once the build done release automatically get triggered and get completed. image
image
image
Site is getting deployed to Azure Web App.image

Sunday, 10 January 2016

Link Azure Subscription to Visual Studio Team Services Team Project

Inorder to Team Project in Visual Studio Team Services, to use Azure Deployment in build and deployment tasks,  Azure Susbscriptions should be linked to VS Team Service. To link a subscription you can go to team project manage area by clicking on cog wheel icon and going to services tab.image
image
You can navigate to same by clicking on any Azure related build/release tasks Manage link.image_thumb34
image
Click on New Service Endpoint and select Azure.image_thumb36
Click on link to download subscription publish settings file. Log in to your Azuer subscription and file will be downloaded.image_thumb40
image_thumb43
image_thumb41
Or you can
  • Open a Microsoft Azure PowerShell window
  • Type Get-AzurePublishSettingsFile
  • This will open a browser and automatically download your subscription file.
Open the subscription file named “SubscriptiionName.Date-credentials.publishsettings” and locate the SubscriptionId and ManagementCertificate elements.image_thumb51
This will link your Azure subscription to VS Team Services Team Project.image_thumb53

Sunday, 3 January 2016

Part 1 Build ASP.Net 4 Web Site - Deploying to Azure Web Site with Visual Studio Team Services Release

Visual Studio Team Services now has Release Managment Services available as public preview. As the fiirst step let’s create a simple ASP.Net 4 MVC web site and build it with Visual Studio Team Services builds.image
For the build we are going to add two steps. A Visual Studio Build Step and a Publish Artifacts step. Visual Studio Build step will build the solution and Publish Artifacts step will make the build contents available for download (or deploy via release services).image
In visual studio build step you can set the parameters as shown below. image
Solution specifies the solution to build. MSBuild arguments specified to package the web site as a single web deployment package.
/p:DeployOnBuild=true /p:WebPublishMethod=Package /p:PackageAsSingleFile=true /p:SkipInvalidConfigurations=true /p:PackageLocation="$(build.stagingDirectory)"
  • /p:DeployOnBuild=true /p:WebPublishMethod=Package tells the build to create a web deployment package after the build
  • /p:PackageAsSingleFile=true tells the build to create the package as a single zip file
  • /p:SkipInvalidConfigurations=true tells the build to generate a warning if the build encounters an invalid configuration
  • /p:PackageLocation="$(build.stagingDirectory)" tells the build to create the build out put in temporary staging directory. Files in this location will be overridden when next build happens.
  • $(build.stagingDirectory) is a Predefined Variable and more information on such variables can be found here.
For Platform and Configuration, variables can be defined in the Variables tab as shown below and can be used in the Visual Studio Build step. image
In Publish Artifacts step, for the Copy Root specify $(build.stagingDirectory), so that the step can find the contents from the temporary build staging location. Contents can be specified and here it is set to copy all zip files. Multiple arguments can be provided for the Contents, and each argument should be in a separate line. Artifact Name can be specified as your preference, and Artifact Type here set to Server. It can be set to a “File share”. Then accessible shared location should be available for the build services.image
Once a build is queued with above steps set, it will build successfluy and will make the build artifacts availablae for downloading. image
image
Downloaded output containes the web deployment package. image
In the next post, I will explain how to use this build to create a Release Pipeline, using Visual Studio Team Services – Release, to deploy to Azure Web Apps.

Wednesday, 16 December 2015

Build Java Code with Visual Studio Team Services Using Ant

Visual Studio Team Services (VSTS) has evolved into cross platform capable, great Application Lifecycle Management and DevOps tool. Building java applications with VSTS hosted build services is possible now.
Let’s look at step by step how we can achieve this.
First we need a java code. The below is very simple java code just printing hello world.
1
2
3
4
5
6
7
8
9
/**
 * The HelloWorldApp class implements an application that
 * simply prints "Hello World!" to standard output.
 */
class HelloWorldAppAnt {
    public static void main(String[] args) {
        System.out.println("Hello World - @ Forum!"); // Display the string.
    }
}


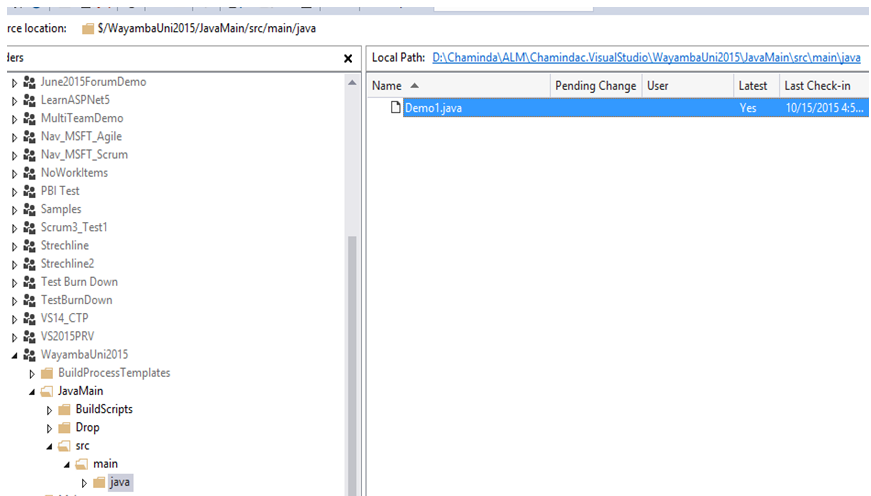
Check this code in and define a build in VSTS. TO the Build definition add an Ant build step.
Set the repository.
We need an Ant Build xml file to do an Ant build. Simple Ant build file looks like below.
 1
 2
 3
 4
 5
 6
 7
 8
 9
10
11
12
13
14
15
16
17
18
19
20
21
22
23
24
25
26
27
28
29
30
31
32
33
34
35
36
37
38
39
<project name="HelloWorld" basedir="." default="main">

    <property name="src.dir"     value="src"/>

    <property name="build.dir"   value="build"/>
    <property name="classes.dir" value="${build.dir}/classes"/>
    <property name="jar.dir"     value="${build.dir}/jar"/>

    <property name="main-class"  value="HelloWorldAppAnt"/>


    <target name="clean">
        <delete dir="${build.dir}"/>
    </target>

    <target name="compile">
        <mkdir dir="${classes.dir}"/>
        <javac srcdir="${src.dir}" destdir="${classes.dir}"/>
    </target>

    <target name="jar" depends="compile">
        <mkdir dir="${jar.dir}"/>
        <jar destfile="${jar.dir}/${ant.project.name}.jar" basedir="${classes.dir}">
            <manifest>
                <attribute name="Main-Class" value="${main-class}"/>
            </manifest>
        </jar>
    </target>

    <target name="run" depends="jar">
        <java jar="${jar.dir}/${ant.project.name}.jar" fork="true"/>
    </target>

    <target name="clean-build" depends="clean,jar"/>

    <target name="main" depends="clean,run"/>

</project>

More information on Ant build xml files can be found in below links. https://ant.apache.org/manual/tutorial-HelloWorldWithAnt.html https://ant.apache.org/manual/using.html
Add this file to source control.
Specify the path to Ant build file in the Ant build step.
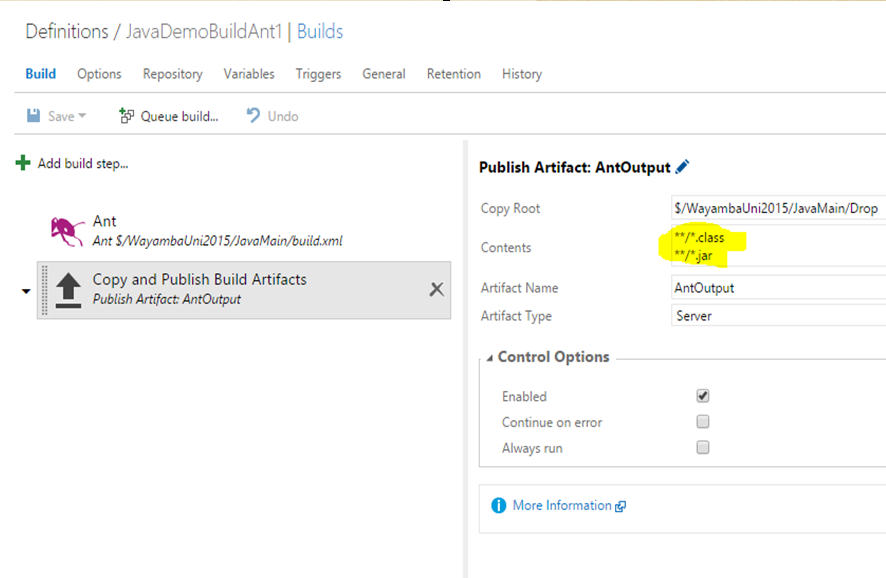
Add a publish step to enable downloading contents of the build.
Now a build can be queued and it will build the java code in to runnable bytecode (.class). This build output can be downloaded as shown below.
The byte code can run with “java classname” in command prompt.
.jar file can be run with “java –jar jarfilename” in command prompt.

Saturday, 5 December 2015

Apply Build Number to Assembly Version with New TFS Builds (Build vNext)

To assign the build number as the assembly version, PowerShell script available here can be used. Let’s see how to set this up for TFS builds step by step.
First, a small console application created below as the sample.01
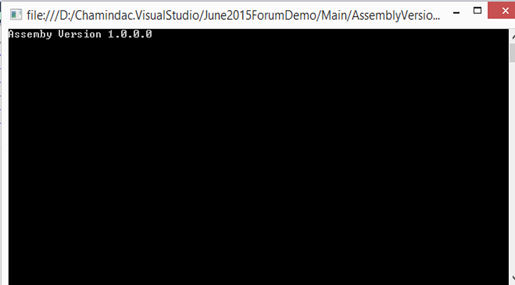
Code segment written to output the assembly version.02 03
Setup a build in Visual Studio Team Services to build the application. Build number is set to represent version 4.1.3.X (the X is the build number for version 4.1.3). This can be set to match regex pattern "\d+\.\d+\.\d+\.\d+". 04
05.2
Set the repository path05
This builds successfully and the build output contains the .exe.06 07 08 09
Next download the “ApplyVersionToAssemblies.ps1” from here. Download link can be found in this page.10
Add the script to the Team Project and check in.11
Add new build step to execute PowerShell script.12
Move the added step as the first step.13
Set the script.14 15
16
When build script downloaded from github this error occurs due to incorrect environment variable. The script is developed to work with TFS 2013 XAML template builds. The scriptceript should be updated to “$Env:BUILD_SOURCESDIRECTORY”, “$Env:BUILD_BUILDNUMBER”, instead of “$Env:TF_BUILD_SOURCESDIRECTORY”, “$Env:TF_BUILD_BUILDNUMBER”. Remove the “-not $Env:TF_BUILD” condition.18
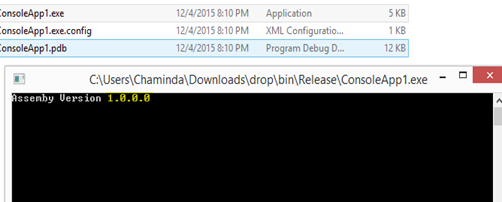
The above changes make the compatible to run with new TFS build. The assemblies now get updated with the build number as version number.19 20
21

Popular Posts