Sunday, 27 April 2014

Upgrading TFS2013 to TFS 2013.2

TFS 2013.2 is out there I thought of upgrading my demo environment to TFS2013.2 from TFS 2013. Below are steps for to do this. For more details always refer Installation Guide for TFS2013.2.

1. Open command prompt in administrator mode in TFS Server and stop all TFS services with “ TFSServiceControl quiesce”.
001

2.  Start TFS2013.2 setup.
002

003

004

 005

3. Can safely ignore this warning (It is the latest update :) ) and you will not get this if internet is connected to the server. Close to Launch upgrade wizard.
 006

4. Wait till current settings detected.
007

5. Click Next.
008

6. TFS Configuration database selected. Click Next.
009

7. Enter password for TFS service account.
010

8. Specify “File Cache Folder” for TFS. (You can change the root folder and settings later if required)
011

9. Select configure reporting.
012

10.  Report server details populated.
013

11. Warehouse DB selected.
014

12. Analysis services ready.
015

13. Enter password for TFS reports account.
  016

14. Select to configure SharePoint.
017

15.  User the current settings.
018

16. Inspect all settings and click Verify.
 019

020

17. Click Configure.
 021

022

18. Configuration competed. Click Next to upgrade project collections.
023

 024

025

026

027

19. Upgrade completed smoothly.
028

029

20. Verify in Web Access shows everything up and running for existing projects.
030

 031

Let’s configure and explore new features for TFS2013.2 in coming posts.

Thursday, 24 April 2014

Resolve "Run On Agent (reserved build agent ) Cannot create unknown type '{clr-namespace:" for TFS Custom Build Templates

Today I came across a strange error. I have a custom build template which manipulates assembly version and was running for long time without issues. Today when I try to use this on a newly provisioned build server I came across below error

Run On Agent (reserved build agent BLDSVR - Agent1)
 Cannot create unknown type '{clr-namespace:MyCustomActivityNamespace;assembly=MyCutomActivityAssembly}MyCodeActivity'.


This Template was used for so many builds/projects in this collection so I was 100% ++ sure this is nothing wrong with my template or custom activities. Few minutes trial and error, I searched in www.. and Wow ! this was exactly my issue... Cannot create unknown type clr-namespace: ONLY on one “TFS build agent” and really thankful to Jupaol for sharing his experience. He saved my day and by spending almost his day figuring out his similar issue. Yeah..it was just a restart of the problematic build agent build service.


My custom template successfully builds the application now with the build server after restarting the build service.


This is awesome lesson...restart and try if something strange with MS windows from good old days :)

This error could be because of your mistakes as well, for example have a look at Stuck on “Cannot create unknown type {clr-namespace:” in TFS Build?

Tuesday, 8 April 2014

08. Create Instance of Development Machine - Setup Virtual Environment for TFS 2013 - Using Virtualbox

In this step of Setup Virtual Environment for TFS 2013 - Using Virtualbox, we create machine instance for development use.

01. First we need to create a Development user in our PDC


02. Then create machine with Virtualbox using the base machine hard disk we have created.


03. Change the machine name


04. Assign an IP address and assign DNS and Default gateway to PDC


05. Restart the machine

06. Add the machine to domain


07. Choose restart later


08. Add developer domain account to the administrators group in local machine


09. Restart the machine and login with developer domain account.


Next we will setup the first team project in our environment.

Wednesday, 2 April 2014

07. Setup Development Workstation Base - Setup Virtual Environment for TFS 2013 - Using Virtualbox

In this step of Setup Virtual Environment for TFS 2013 - Using Virtualbox, we will setup a base machine hard disk for virtualbox so that we can use them to create development environments.

01. Setup the OS but DO NOT add to domain

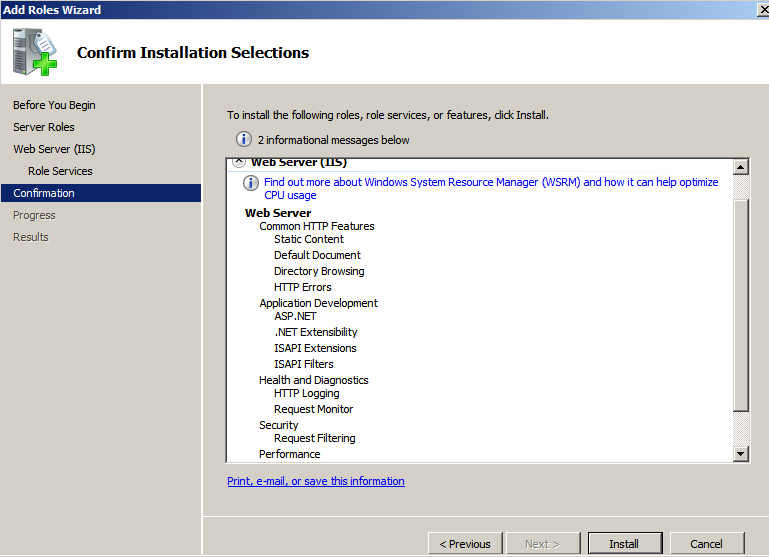
02. Setup IIS (This is not mandatory but I prefer to have IIS)


03. Run Visual Studio 2013 Setup. You need to install .Net framework for the setup to run.


04. Another requirement is IE 11


05. download from http://windows.microsoft.com/en-us/internet-explorer/ie-11-worldwide-languages


06. Now you will be able to run the setup and install VS 2013.


Install any other tools which you think might help in development. Two great tools are

Microsoft Visual Studio Team Foundation Server 2013 Power Tools
Productivity Power Tools 2013

The next step will be to create instance of the base machine and add it to the domain, which I am hoping to explain in few days.

Popular Posts